File Set-Up
- Open Illustrator
- Select ‘New File’
- Enter custom dimension/sizing:
W – 550mm
H – Depends on how many stickers, if unknown, start with 200mm and adjust later if required
Raster Effects – High (300ppi) - Press ‘Create’
Sizing
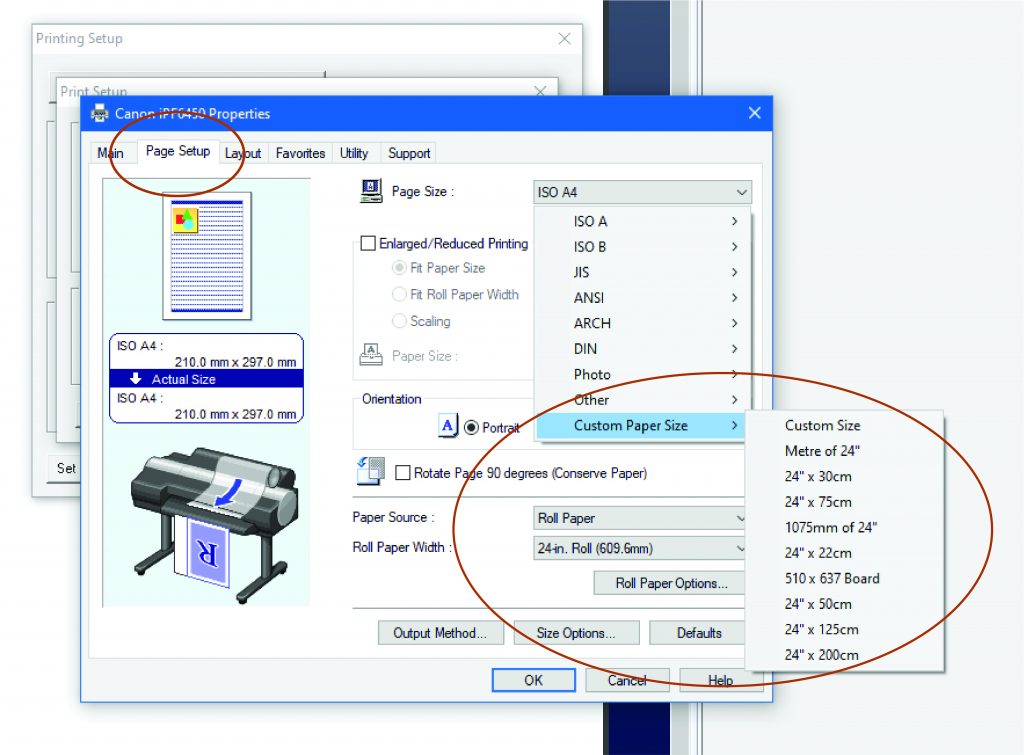
The vinyl comes off a 610mm (24″) roll. The vinyl cutter cannot go edge to edge when cutting, it requires a minimum of 25mm on both sides to allow space for the rollers.
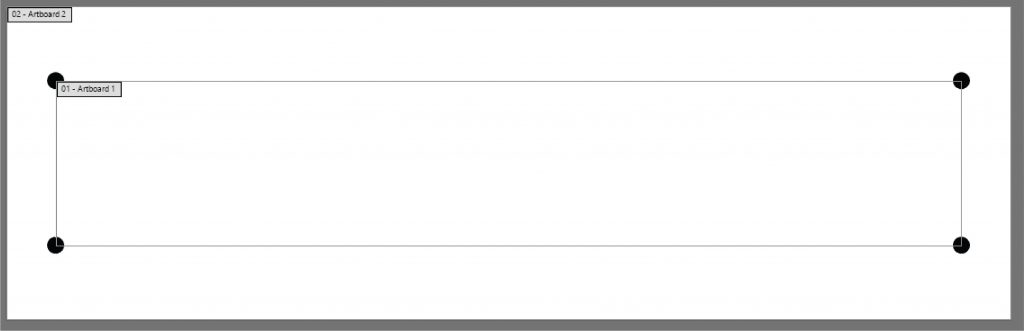
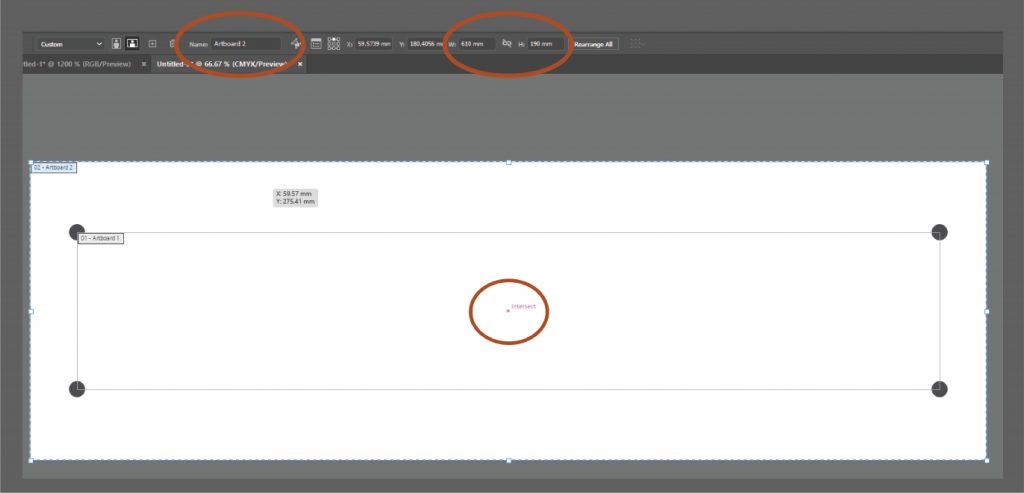
The Cut Layer (artboard 1 – smaller top layer) should be 550mm wide. It can be up to 1442mm (56″) long. This is the original artboard you created.
The second Print Layer (artboard 2 – larger bottom layer) should be 610mm wide. It can be up to 1500mm long.
5. To create the second artboard, select the Artboard tool (Shift+O) from the tools menu on the left-hand side:
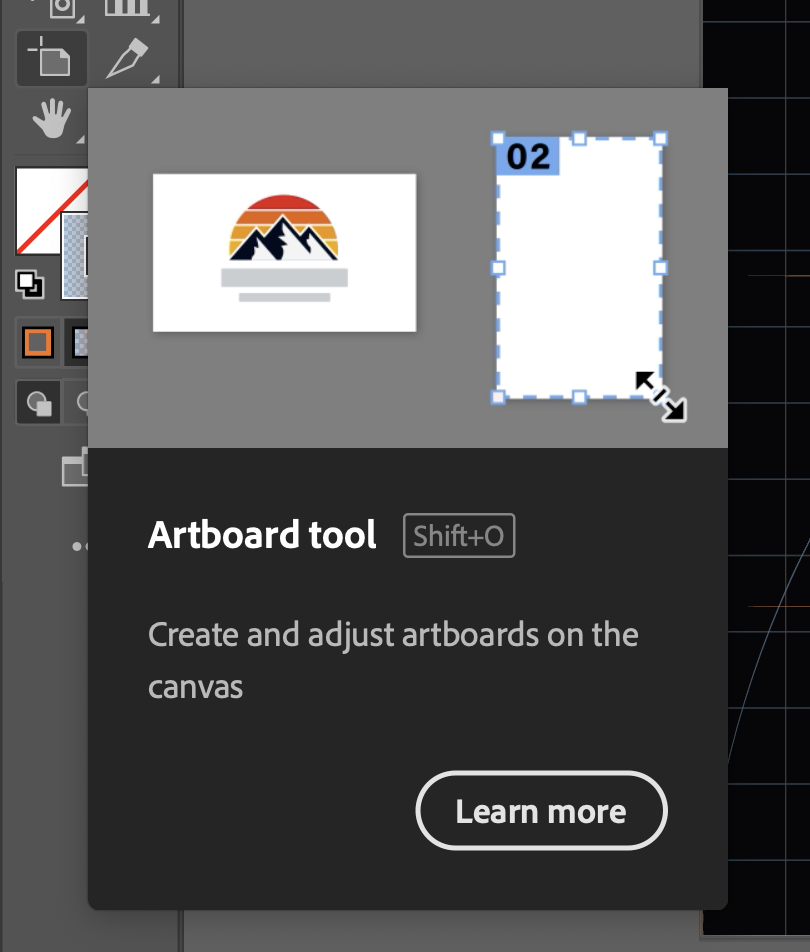
6. Click and Drag to create Artboard 2, then adjust to the correct size via the settings at the top of the window.
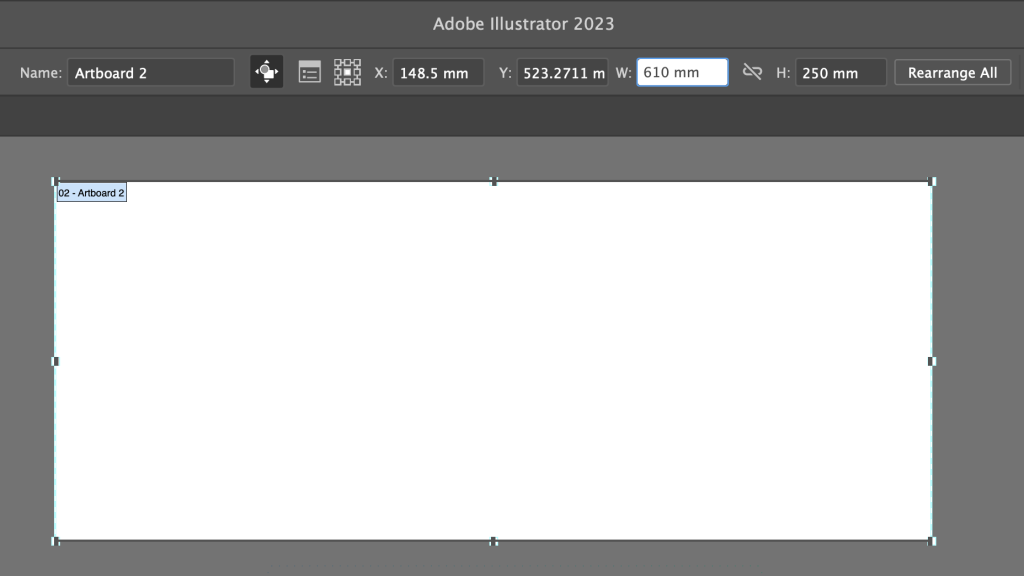
Artboard 2 should be 610mm Wide + 100mm to the height of the first artboard.
e.g. if your first artboard was 200mm tall, Artboard 2 will be 300mm tall (200mm + 100mm).
Layers
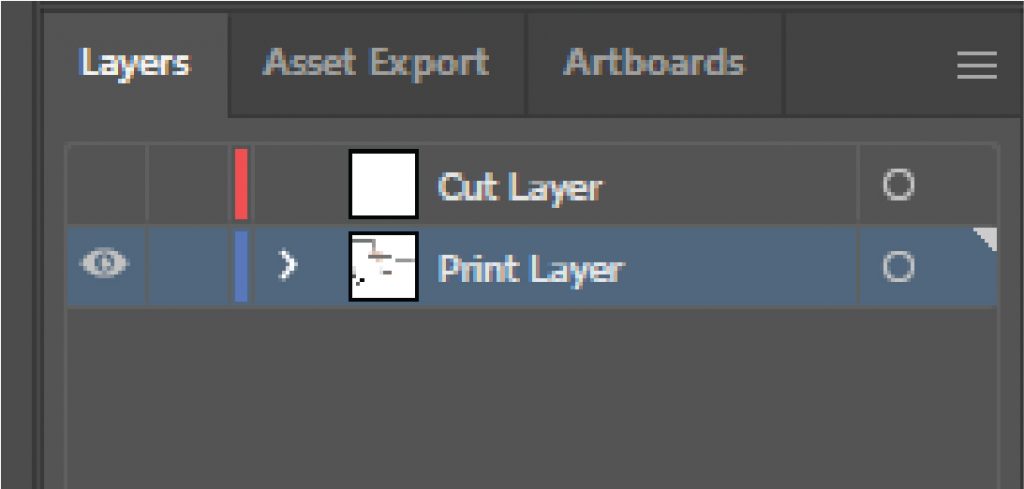
Your Illustrator file needs to be separated into two layers, the print layer and the cut layer.
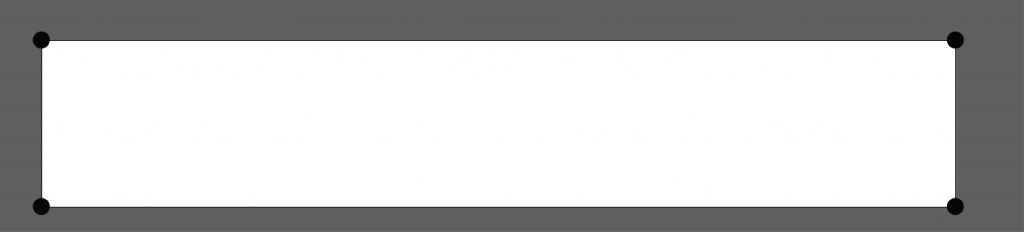
Cut (top) Layer: Contains the cutlines around each sticker – this is a 1pt black stroke around the object. Artboard 1
Print (bottom) Layer: Contains all the images of stickers that you require, make sure your images are embedded – not linked. Artboard 2
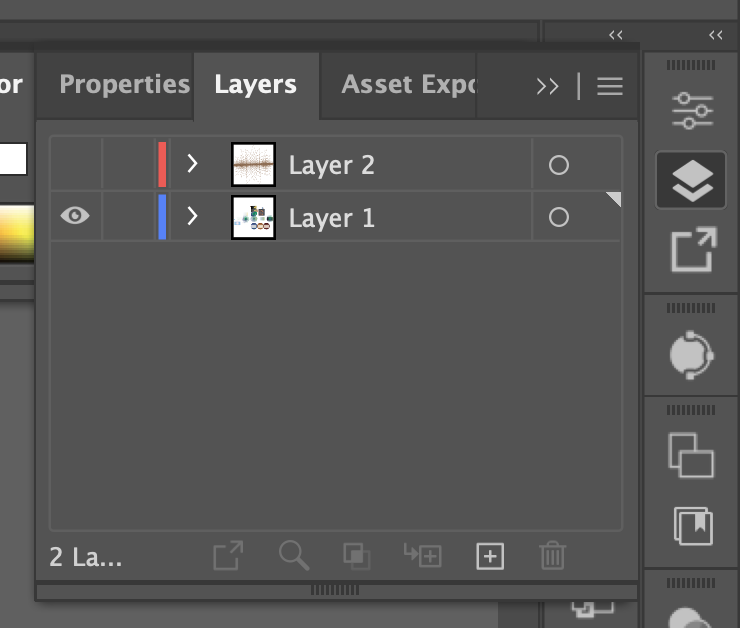
7. Create these layers by using the Layers tab, pressing the ‘+’ to create the layer, and double-clicking to rename.
Alignment
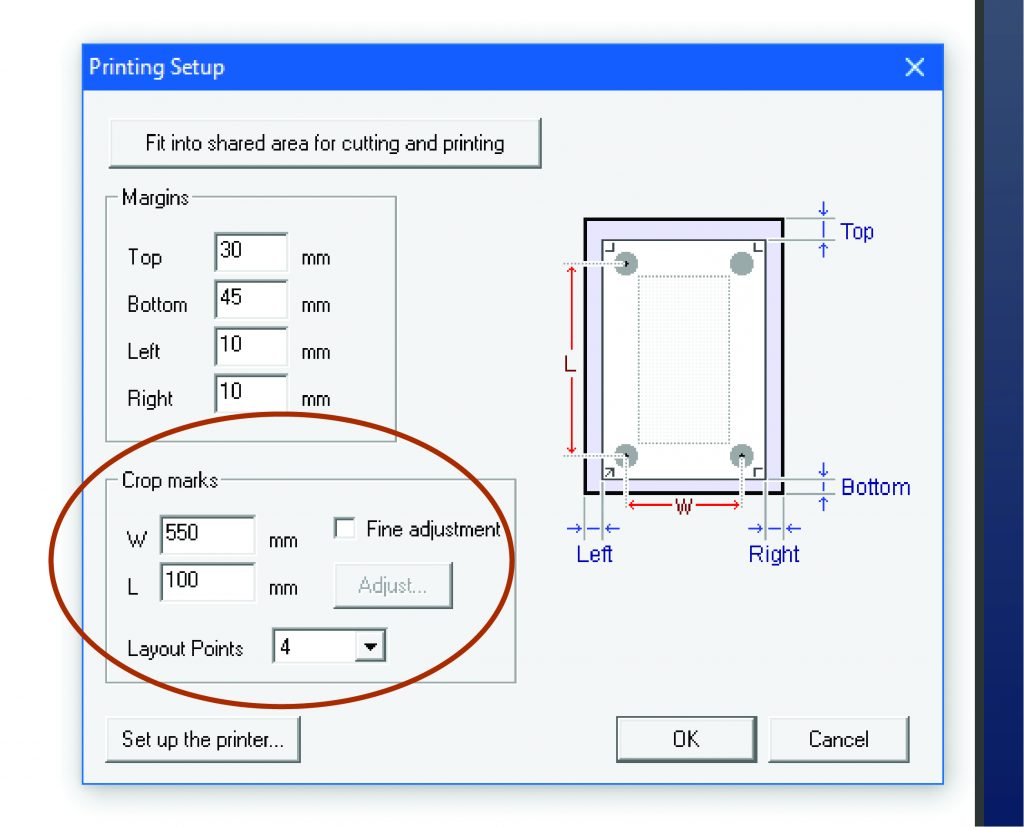
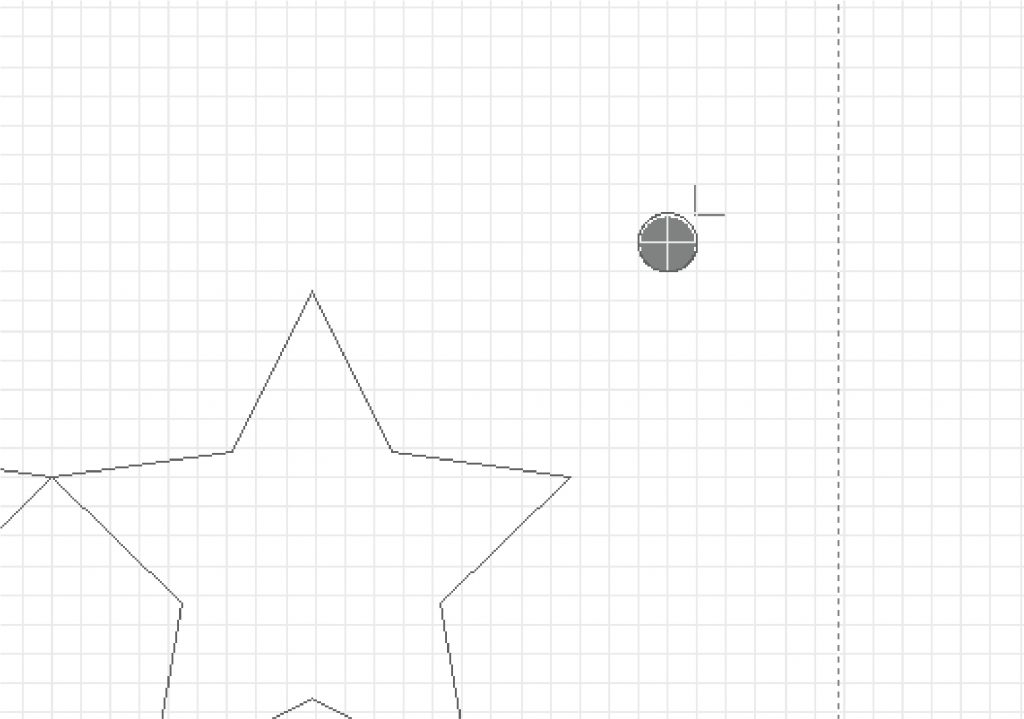
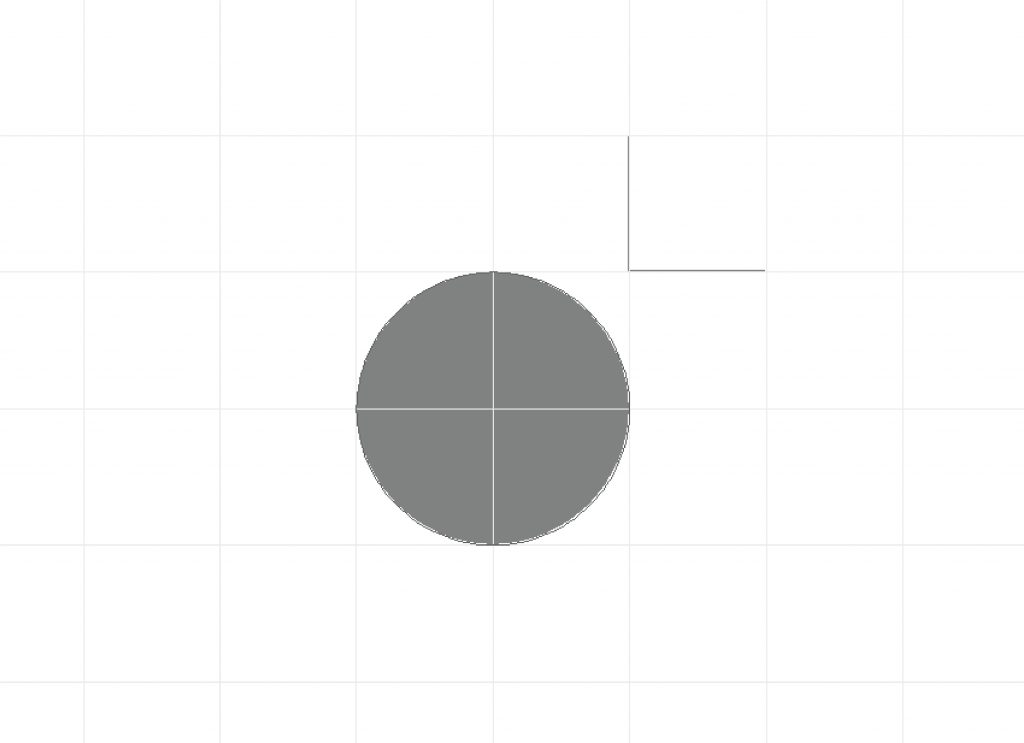
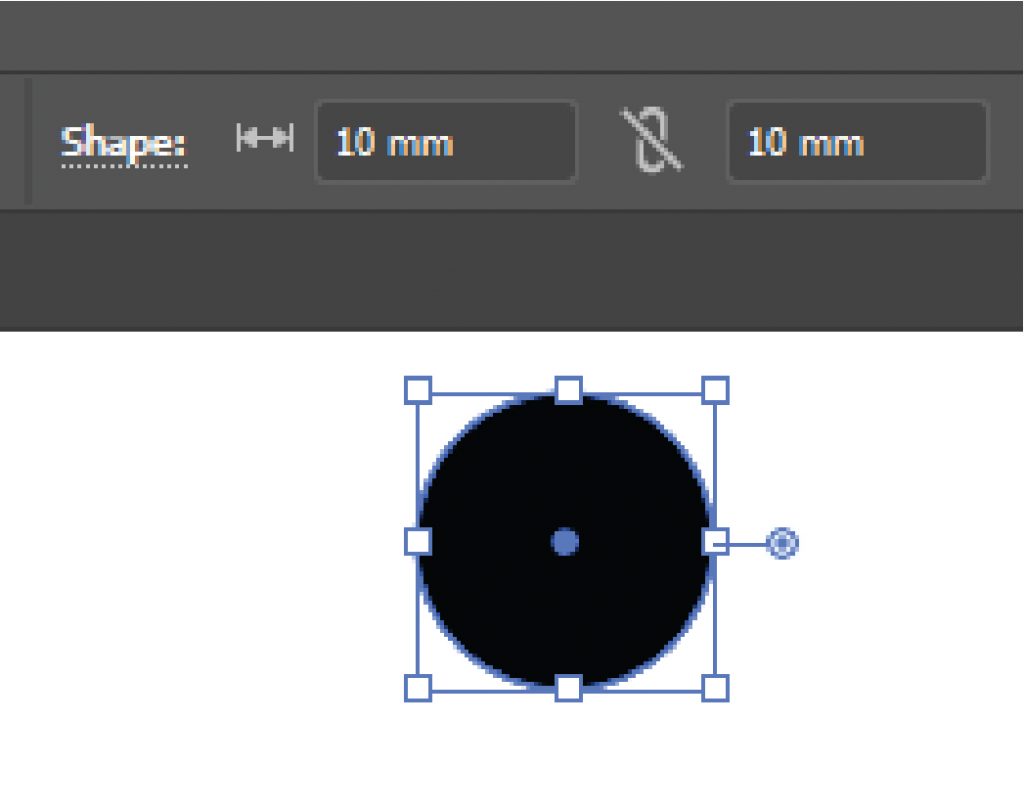
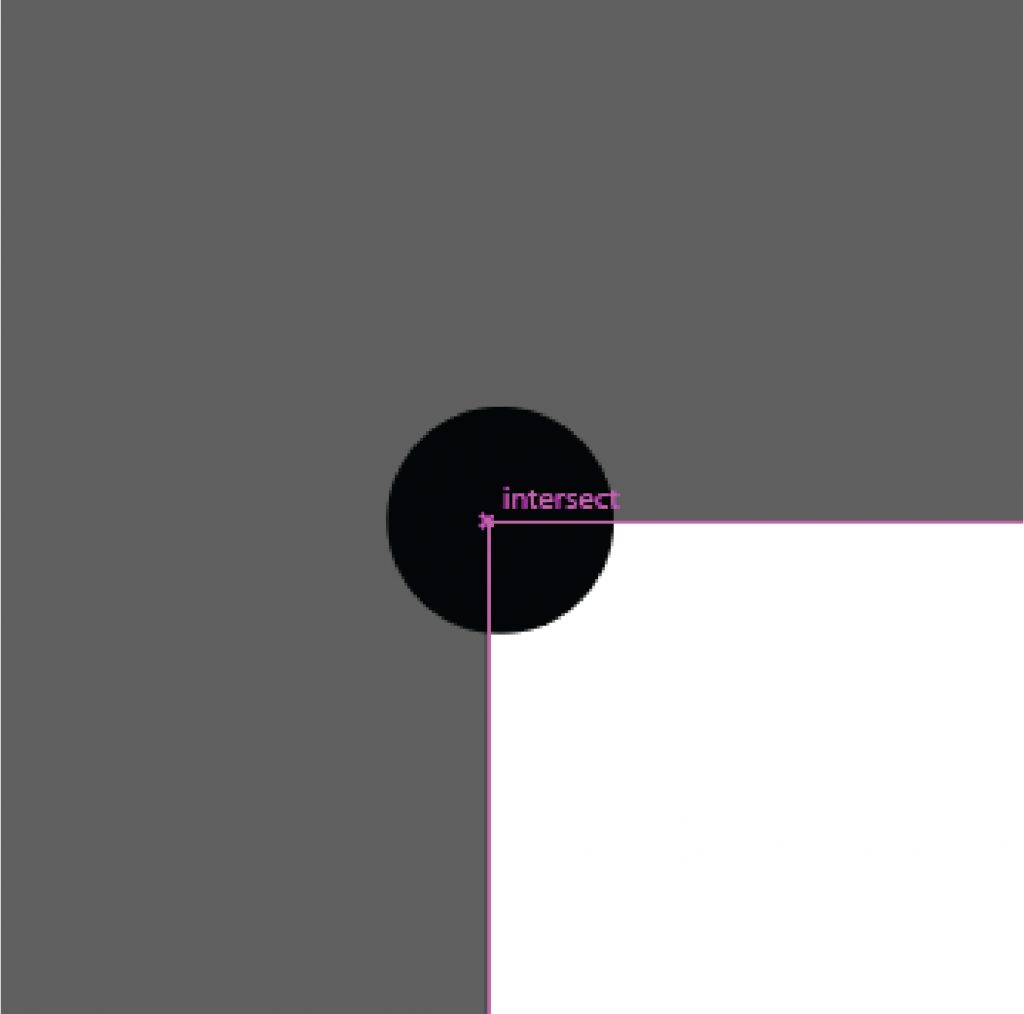
Mark each corner of artboard 1 with 10mm black circles for the vinyl cutter to align with.
Add your artwork to the print layer – ensure it stays within the border of Artboard 2.
Duplicate in place (CMD + C, CMD + SHIFT + V) your alignment dots so they are on BOTH the cut and print layer.
If you’ve made it this far, nice work! Upload your Illustrator file and get a Technical Officer to print this for you on vinyl. Make sure your fonts and images are embedded, linked files will not be able to be printed.
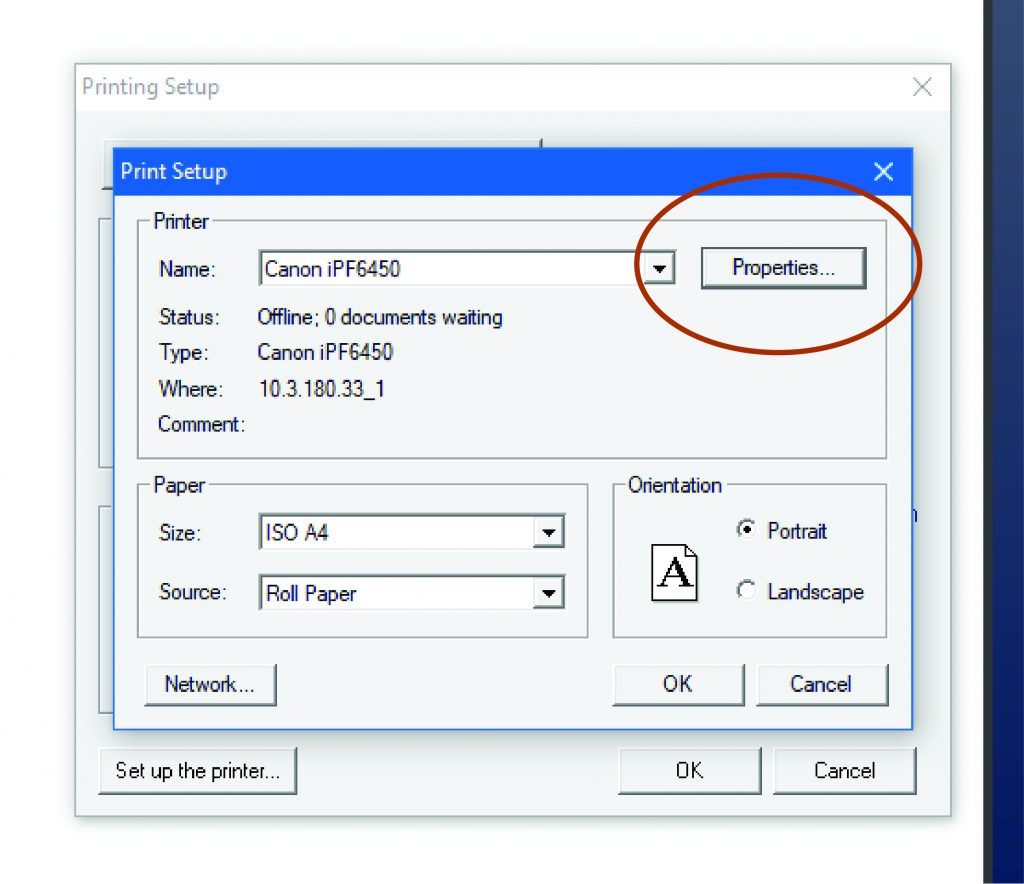
The file will be opened in Photoshop, opening Artboard 2 (The print layer) when prompted, and printed via the Canon Plug-In.
Make sure you save your files to a compatible version of Illustrator (the latest tested is CC 2021).
Upload & Pay
Upload and pay using the Sticker Submit Form and your two-layer Adobe Illustrator file.
Pay for the vinyl material through the Print Media Payment Portal and attach your receipt to the form. Accept the terms and conditions.
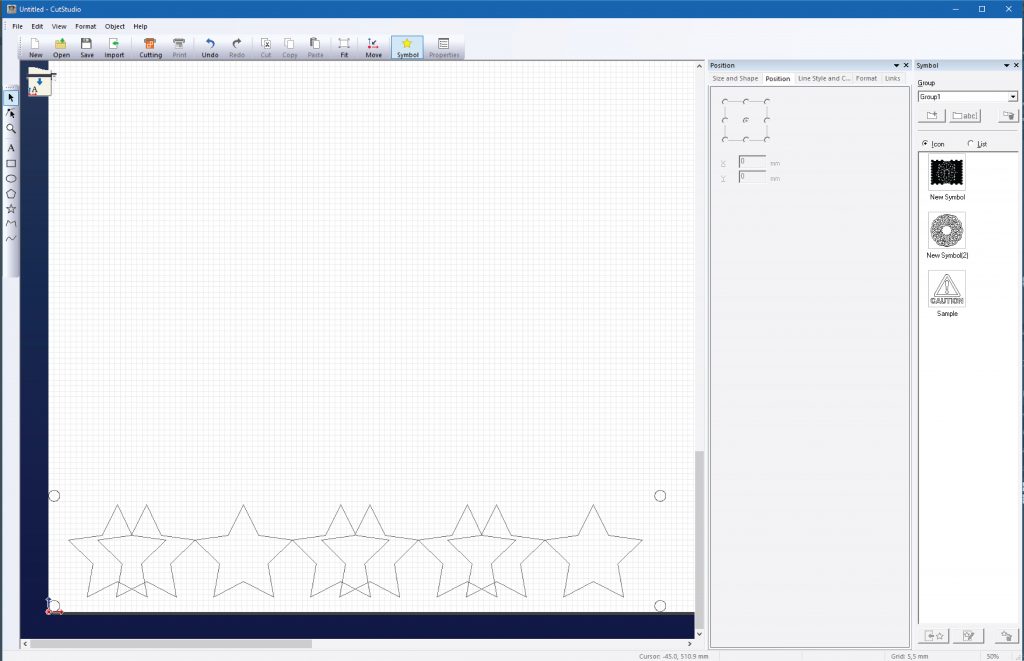
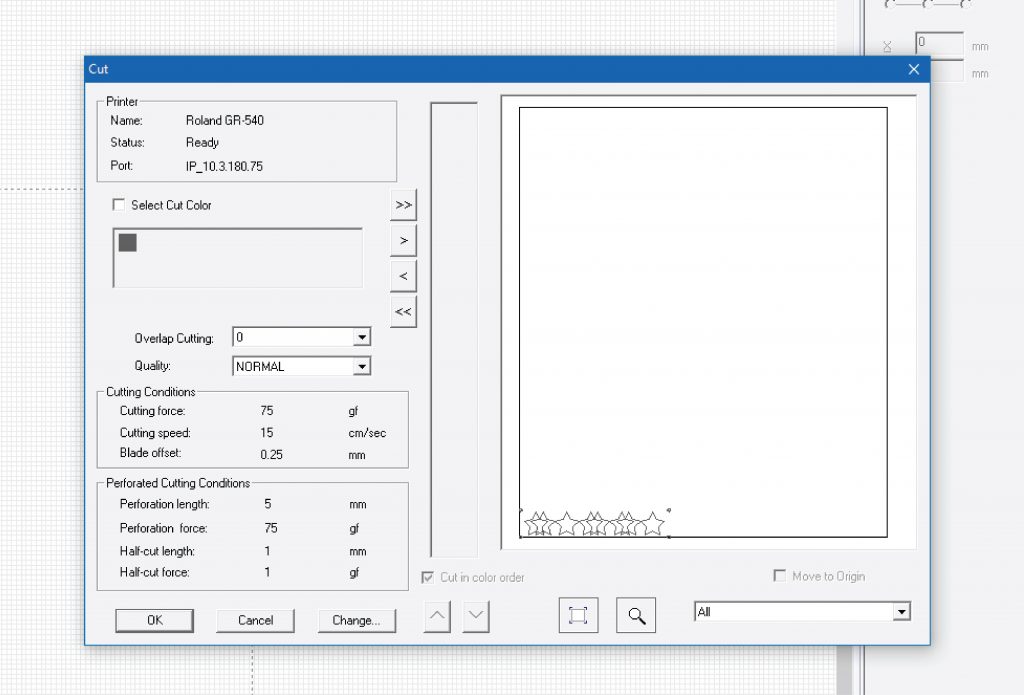
Alignment in Cut Studio
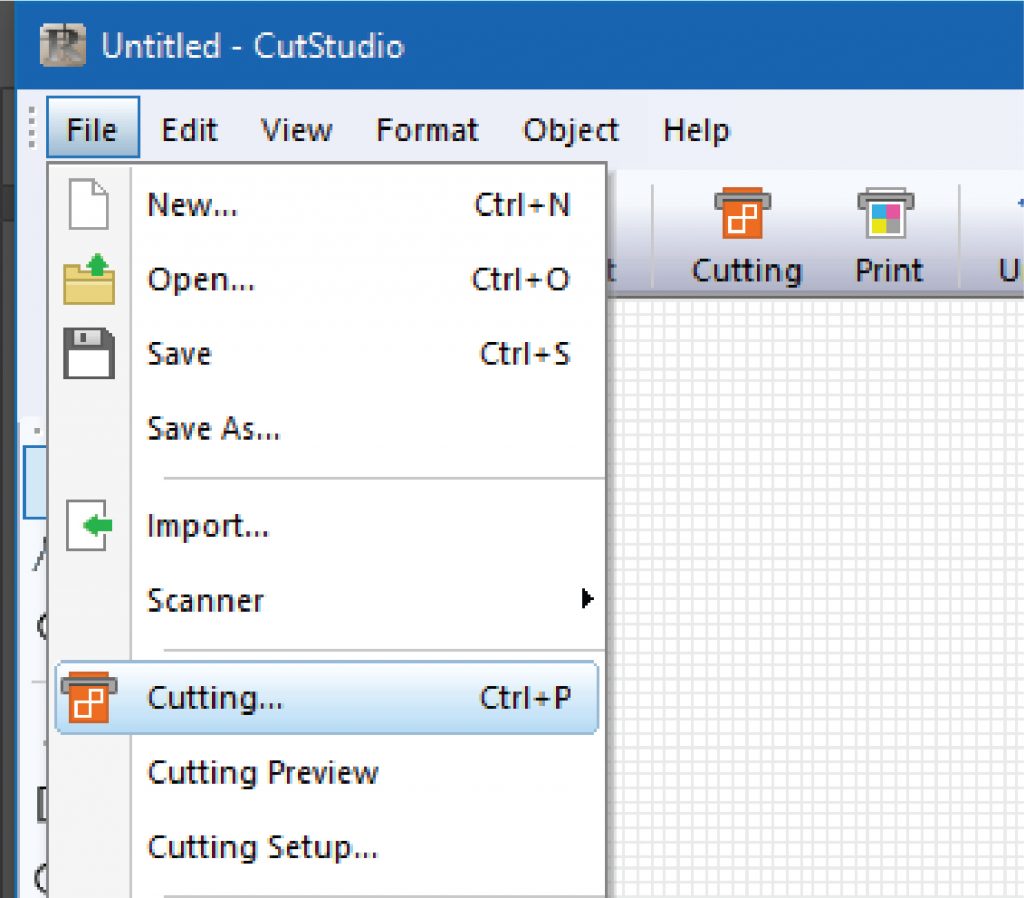
Export your cut lines out of Illustrator using the Roland CutStudio Extension. Exporting the alignment circles allows for visual alignment in CutStudio.